
If you want to have a local development version of WordPress (or any other local development platform for that matter), the best way to do this is to install Server2go. This lets you have a simple, portable version of the database (mySQL) and the web server (Apache) that you can run locally and copy with all your folders, or give to others to run…
Why do this? Because otherwise, getting to the point where you can start developing themes or plugins is a pain.
I consider myself a well rounded developer. I don’t play favorites. That means, from one day to the next I may find my self in php, coldfusion, or java. I build prototypes using ext.js framework and also have local versions of Joomla, Conflunce, MediaWiki, and even Websphere portal with WCM, and SAP Portal (I keep those beasts locked away in a WMWare enviroments). But VMware is overkill for something as light Weight as WordPress.
Here are the steps for setting up a local WordPress dev enviroment with Server2Go.
- Download Server2Go – there are several versions. To pick the right one, check the requirements of the software you want to run. Since I want to run wordpress – I look at it and downloaded this one – (only ~23MB – nice).
- Extract it somewhere (you can move it later) and and launch the server2go.exe. this starts the server. Any time you want to work in in, just launch it. If you want to change the way it works (like launch firefox instead of IE, edit pms_config.ini file.
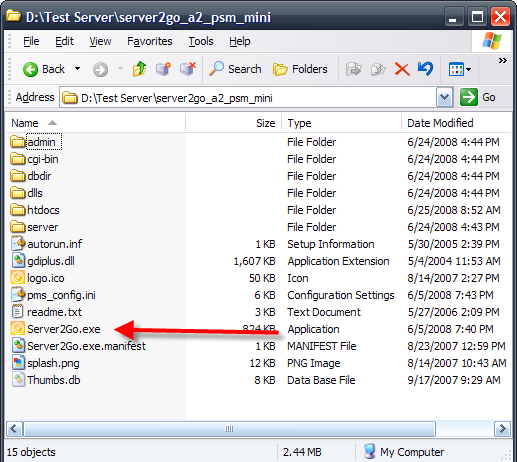
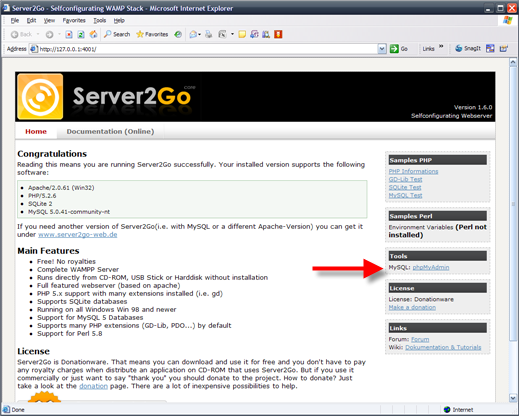
- Server2Go will launch IE for you and show the default screen. Now we have to create a wordpress database. So click phpMyAdmin under tools on the right.
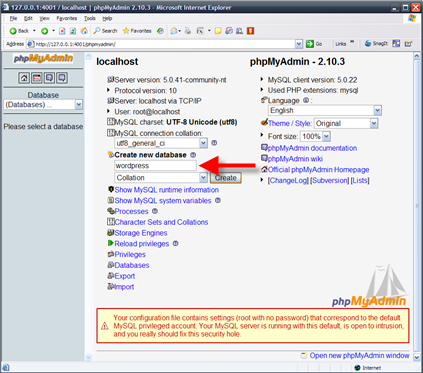
- In the Create Database feild type “wordpress” (no quotes) and press “Create”.
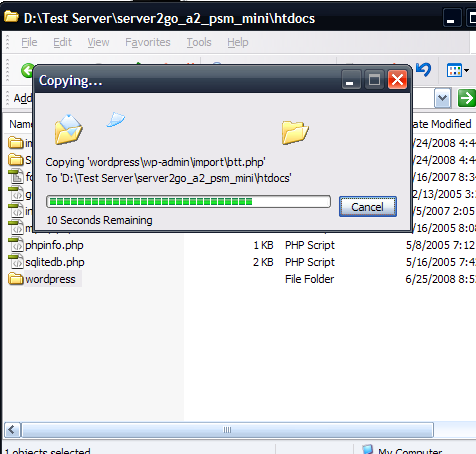
- Download the WordPress package and unzip it into the htdocs folder in your server2go folder.
- In your browser type: http://127.0.0.1:4001/wordpress/
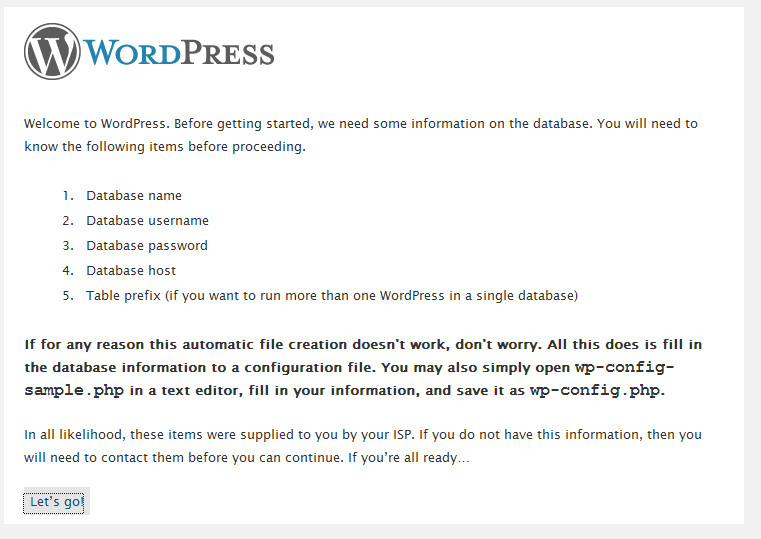
- Follow the instructions onscreen – click the create wp-config.php button, then “let’s go”
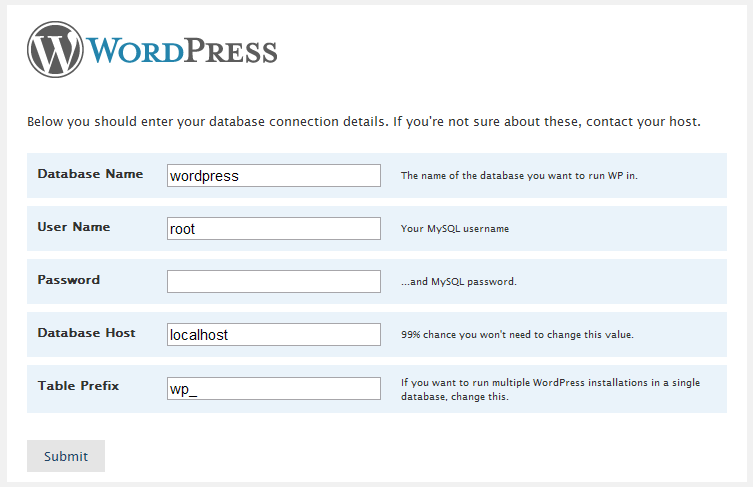
- Type “wordpress” (no qoutes) into the Database name feild and submit.
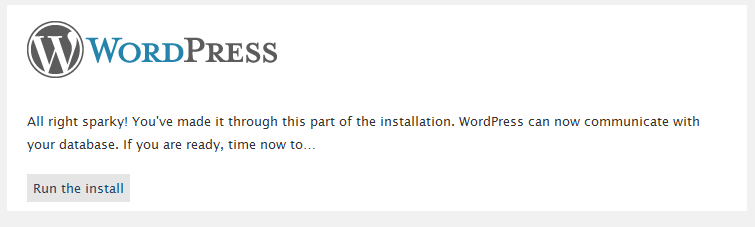
- Then you see this and that’s it! WordPress should now be installed.
- Once your in wordpress, you can download themes from the internet and unzip them to the themes folder. Once you do, you can see them on the Design page in the wp_admin.
- I like to find a theme that is close to what I want and modify it. Once you find one you like, create a site in dreamweaver and edit the theme from there. You can save changes to the php files and css and see them in immediatly on the site by refreshing.

Thanks for the tutorial buddy. Could have figured it out by myself of course. But I just don't want to make a mistake that could possibly mess my other installations like MoWeS, etc.
thanks mate, it is working with me perfectly now from my computer
Regards
This post was awesome – step by step – ran through it – worked great.
This should come in very handy for creating DVD based WordPress sites.
OK – I'm running through this a bit more and ran into something strange…..
The install works fine and the WordPress database gets created.
Once I shut down Server2Go – for example, I close the browser and then go back into it, the WordPress database I previously created is no longer there and I have to reinstall WordPress every time. I assume it's not supposed to do this, correct. For some reason, it's not retaining my WordPress install unless I keep the browser and server running.
How can I retain the database so I can go back to my project later and work on it?
Thank you for any direction you can provide….
It sounds like in your first post you mentioned burning it to dvd. DVD
is read only so when your site loaded, it will run (the db will be in
a temp site) but non of the data will be saved.
Options. Create the database “before” you burn it. Once you burn it,
you can create content, but again, it wont stay because the db is read
only.
Or – use a usb thumb drive instead of a dvd.
DVD's are read only 😉
Open server2go config_pms.ini and change localmirror=1 to localmirror=0
Keep in mind though that a USB thumbdrive must be used for the reasons stated by ben.
Thanks! I’m using WordPress on a flash drive and that config worked for me.
[…] Installing wordpess into server2go Ben Shoemate Posted by root 3 hours ago (https://www.benshoemate.com) Jun 25 2008 but vmware is overkill for something as light weight as wordpress your comment is awaiting approval by a moderator tweet this post links powered by tweet this v1 3 9 a wordpress plugin for twitter Discuss | Bury | News | Installing wordpess into server2go Ben Shoemate […]
[…] Installing wordpess into server2go Ben Shoemate Posted by root 9 days ago (https://www.benshoemate.com) Jun 25 2008 your comment is awaiting approval by a moderator this should come in very handy for creating dvd based wordpress sites tweet this post links powered by tweet this v1 3 9 a wordpress plugin for twitter Discuss | Bury | News | Installing wordpess into server2go Ben Shoemate […]
Thanks dude, that shit pissed me of, i couldn't install wp properly in the usb, now it's in, thanks a lot 😉
Good article, Ben. Thanks for posting this. I would like WordPress to run on a read-only CD. Any idea how that might work? I saw a few examples on the server2go of joomla etc and here: http://drupal.org/node/303458. But nothing specifically about WordPress.
Just the fact that its on a cd makes it read-only since the pc can not
write to a cd once its burned.
Just the fact that its on a cd makes it read-only since the pc can not
write to a cd once its burned.
Hi, Thanks for the clear and simple description.
My WordPress is now running on server2go.
Best wishes from Munich
Sabine
Hi
even with different software versions, the tut is still helping!
thanks a lot 🙂